Goodness Bowl and Changes on the Blog

Processed with VSCOcam with f2 preset
I am no food blogger. I make food, I eat food, I enjoy food… but to say I am a food blogger is a bit… inaccurate.

That seems pretty rich coming from a person who uses the hashtag #ihaveafoodblog.

The thing is, I recently became friends with a colleague, Pei Zhen. Now, she’s a true chef and creator of food things. We were in the middle of our science comms jobs and then we started talking about food and man – when she started talking about food it was like you couldn’t stop her! She churns inventive ice-creams, packs fresh lunches for herself and her husband and has her own version of french onion soup (WTF?).

This made me think about my approach to food and the whole point of this blog.

I originally started this blog because I cook at home a lot – but the thing is, I hated cooking. So in order to change that I figured if I had a blog and celebrated what I cooked, that would change.

It did in fact, change. I love cooking now and it’s a respite from my life and my very busy mind when I do cook. However, I don’t try new things. I either cook recipes that I find online or that my Mom has taught me. I like following the path people have laid down when it comes to food – because they know what they are doing and I’m a busy person. Experimenting? Ain’t nobody got time for that!

So, I’ve decided my food making posts are going to feature pictures, a story behind why I made that dish and a link to the original recipe, when there is one. Ala Cupcakes and Cashmere. Not that I’m anywhere near her popularity as a blogger. It just seems more genuine.

Also, recently, I’ve been doing more posts about my life, like this one about having an existential crisis, and the number of views those posts get are wayyy more than my food posts.

It makes more sense to explore and expand this part of the blog.

As much as I’d love to be a lifestyle blogger, I don’t have the budget for the clothes/food/travel (I think it’s called SWAG?).

Also, I love sharing what I think and how I deal. With all this 21st century bullshit that is currently making our lives so hard.

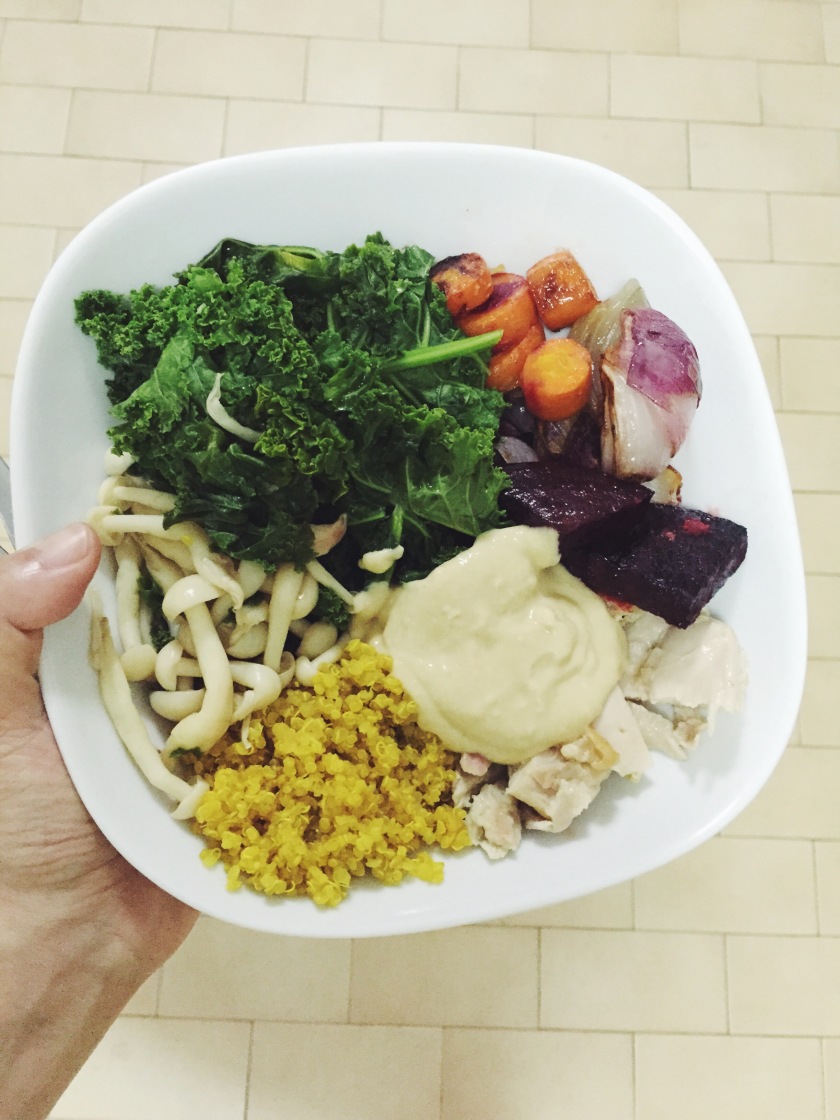
So in this installation of cooking and food, I came across this gorgeous bowl of goodness and I knew I had to have it. I actually did make it in time for Salad Monday, but the thing is, this isn’t a salad. It’s a bowl.

Everything is cooked. The quinoa comes alive with tumeric, fresh ginger and coconut oil. The carrots, beets and red onions are roasted with olive oil. The kale is mushrooms are sauteed with mirin and a splash of soy sauce. And finally the protein – chicken is baked with ginger and garlic and salt and pepper. It all comes together with an earthy sauce of miso, tahini and lemon juice. The original recipe features avocado and and no meat. But that’s all up to you.

Peanut Butter, Banana and Oat Muffins

Peanut Butter, Banana and Oat Muffins

I was going to leave this post till mid week because that’s typically when traffic is higher but you know what?

It’s pretty.

It looks oh-so-comforting.

And that’s what you need on a Monday morning when your entire body is screaming at you to NOT WAKE UP – CRAWL BACK UNDER THE SHEETS – THE WORLD DOES NOT DESERVE YOU!

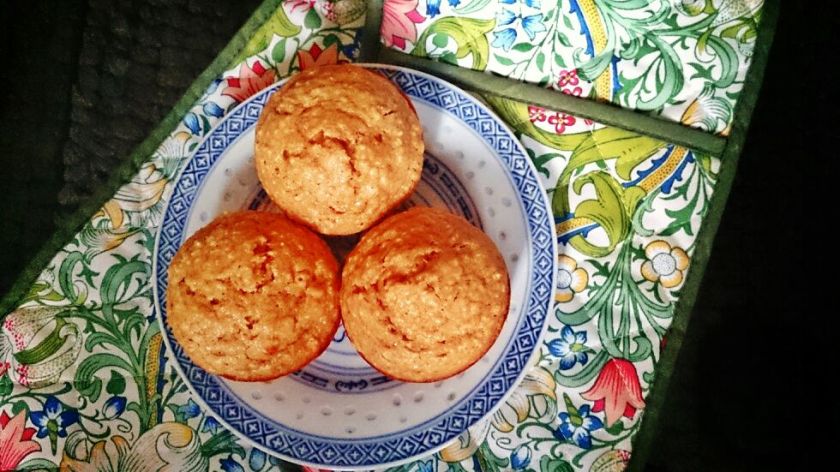
Peanut Butter, Banana and Oat Muffins

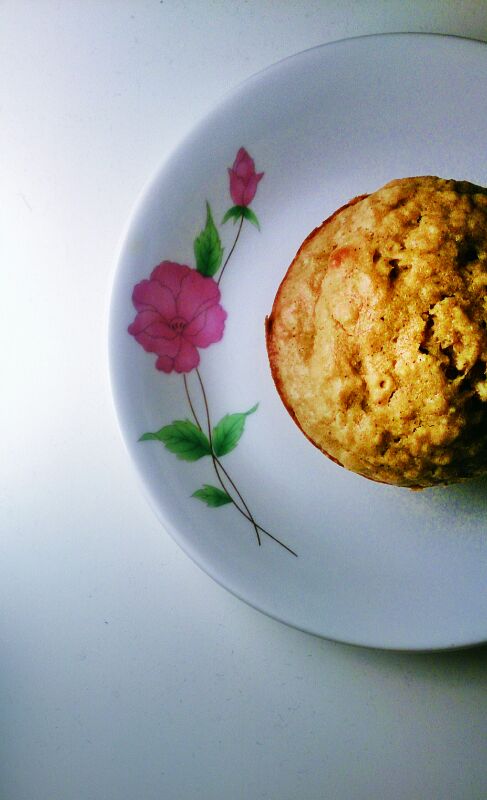
Ahem. I present the breakfast muffin. Made with leftover mushy bananas.

They are light and fluffy and not too strong tasting if that’s your sort of thing. Since it’s not mine I would serve it with additional peanut butter or Nutella.

YUM.

Dry ingredients
1 1/2 cups plain flour
1/2 cup whole oats (I made mine finer by pulsing it a bit in the food processor)
3/4 cup brown sugar
1 tsp baking powder
1/2 tsp baking soda
1/2 teaspoon salt
1 tsp cinnamon

Wet ingredients
1/3 cup peanut butter
2 tablespoons coconut oil (you can probably use vegetable oil)
2 eggs
1 cup milk + 1 Tbsp white vinegar (allowed to sit for 5 minutes before incorporating)/ 1 cup buttermilk
2 ripe bananas, mashed
1 tsp vanilla

Preheat the oven to 175C/350F.

Grease a muffin pan for 12 muffins.

Whisk the dry ingredients in a bowl.

Mix the wet ingredients in another bowl.

Mix them together until just combined.

Pour evenly into the muffin holes – they will be 3/4 full.

Bake in the oven till its puffed up and the tops crack. About 20 minutes.

*Adapted from Baking Bites.
**Photography by Hoi Yee (paper_shins).

Update: You MUST eat this with an extra tablespoon (or two!) or peanut butter. THE END.

Peanut Butter Chocolate Chunk Banana Cake

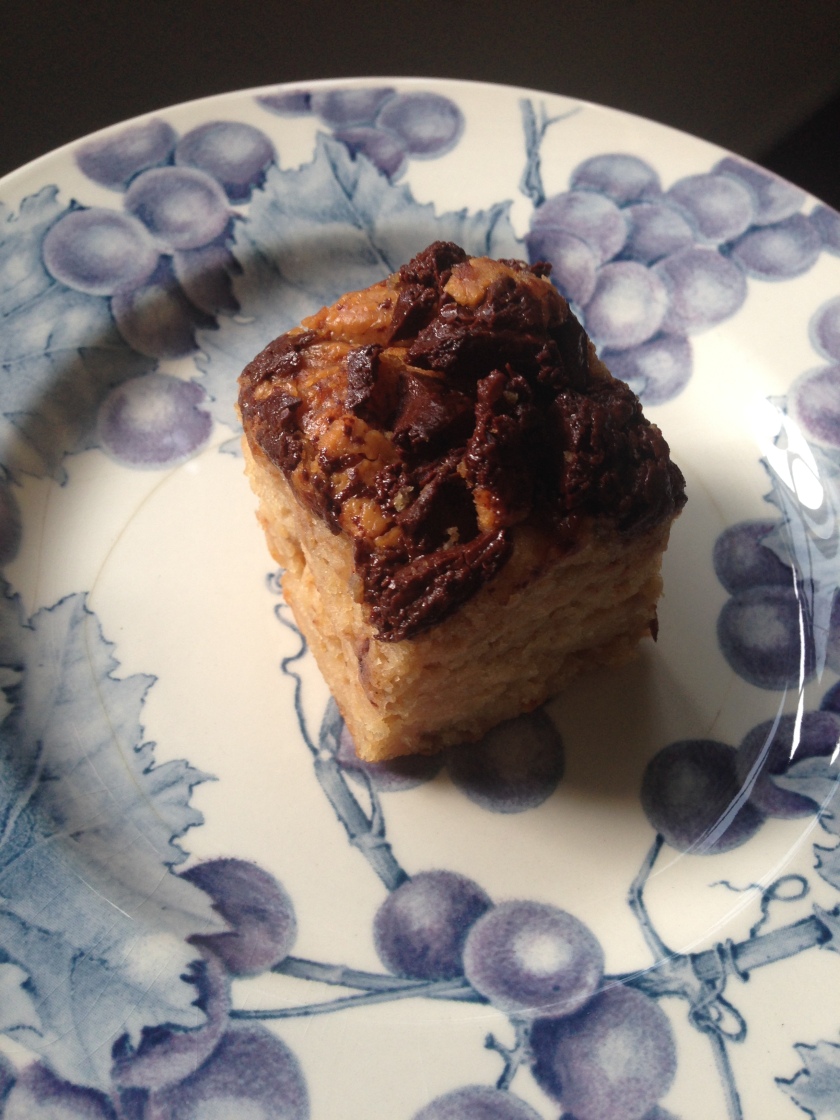
2014-01-05 08.08.38

This cake has gotten a lot of love in my house. The whole thing basically disappeared over the course of a few days.

That doesn’t always happen.

I think it’s obviously because I am now a baking genius.

Or it could be the peanut butter and chocolate.

Nah. It’s probably me.

*Recipe from Averie Cooks. You want to check her version out. Her photos are stunning.

Pumpkin Chocolate Squares

2013-11-13 08.43.36 (1)

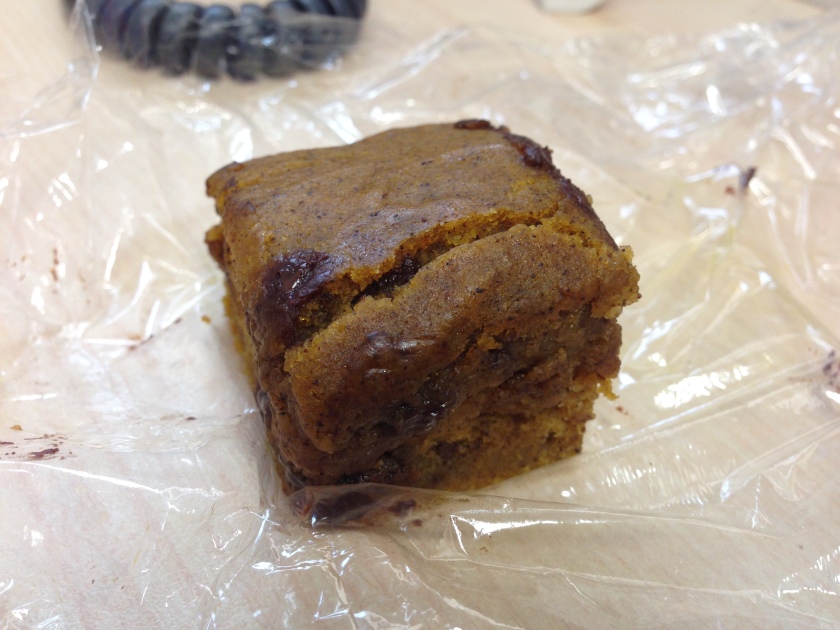
I made this last night in like 25 minutes. That includes the prep and baking. And it’s tastiness was extremely unexpected because it was such a half assed attempt to use up my leftover pumpkin. I’m so excited that I couldn’t wait to share and took a picture of it on plastic wrap next to my office phone…

Bad food blogging decisions aside it’s probably the tastiest baked good I’ve made this year. It’s a cross between a bread and a blondie and its suuuuuper moist. And there’s chocolate.

I KNOW – I have to make a vegetable soon. My pants will also thank me. But for now make this coz dayamn.

1/2 cup flour (any kind)
1 tsp cinnamon
1/4 tsp pumpkin pie spice
Pinch of nutmeg (I bought the actual nutmeg fruit and grated it. It smells bananas good almost so that its kinda gross)
1/2 tsp baking powder
1/4 tsp baking soda
1/4 tsp salt

1 egg
1/3 cup brown sugar
1/2 cup canned pumpkin (or cooked, pureed pumpkin)
2 tablespoons milk (any kind)
2 tablespoons coconut oil (other oil can be used)
1/2 tsp pure vanilla extract
¼ heaped cup chocolate chips

Preheat oven to 180C/350F.

In one bowl combine flour, cinnamon, pumpkin pie spice, nutmeg, baking powder, baking soda and salt.

In another bowl whisk together the egg, sugar, pumpkin, milk, oil, and vanilla until smooth.

Add the dry ingredients to the wet and stir until well combined. Stir in the chocolate chips.

Spread the mixture into a greased 9×5 inch loaf pan. Bake for 15-18 minutes.

**Adapted from Chocolate Covered Katie and Handle the Heat.

Coconut Chocolate Chip Granola

Too close?
Too close?
Still too close?
Still too close?
We all good now?
We all good now?

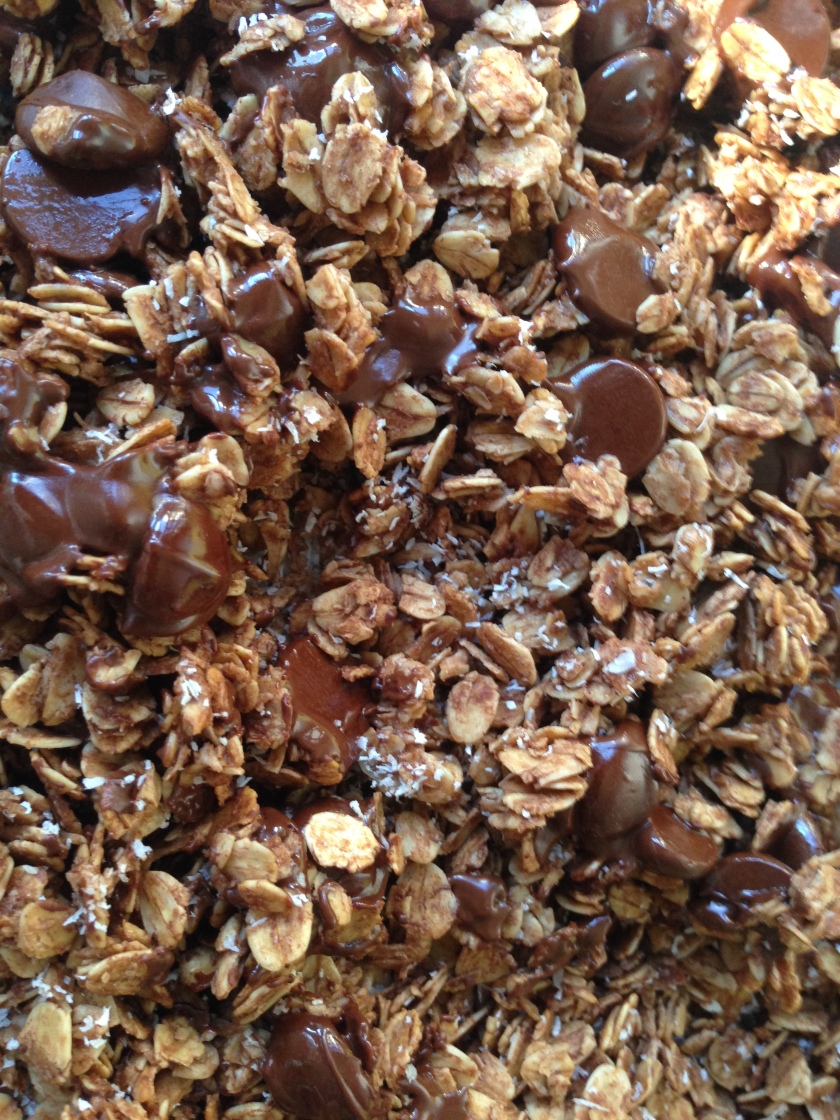
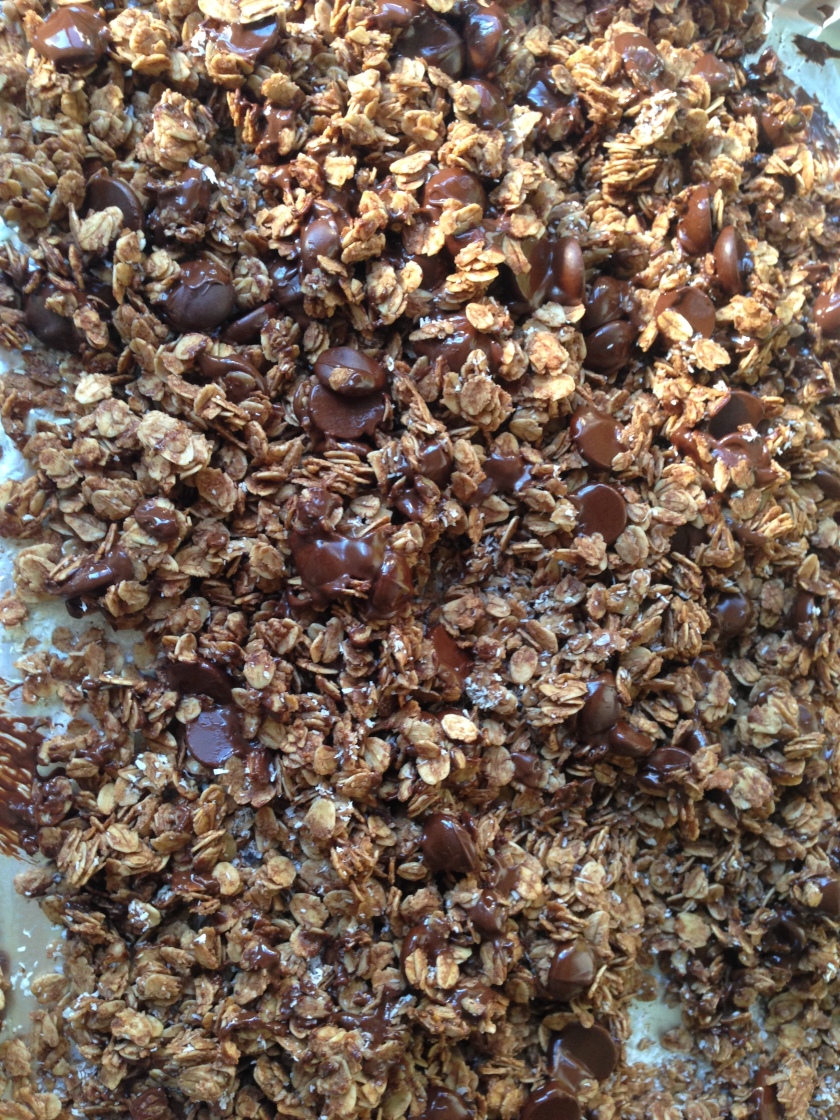
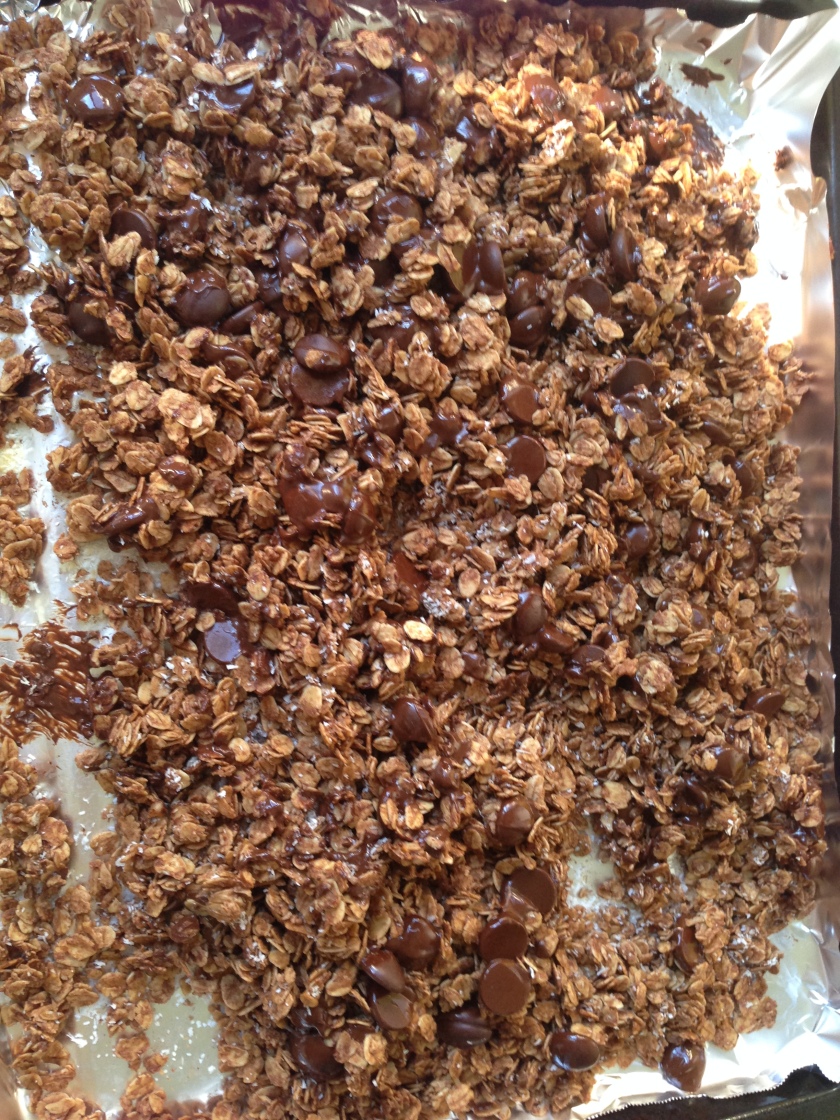
I wanted granola and this is what I had leftover in my fridge/pantry/life. BOOM! Awesomeness in a bowl.

2 cups rolled oats
1 1/2 Tbsps cocoa powder
1 tsp salt
1 pinch ground cinnamon (I think this helps bring out the taste of the chocolate)
3 Tbsps + 1 tsp coconut oil
1/4 cup maple syrup
1/4 cup light brown sugar
1 tsp pure vanilla extract
1/3 cup dessicated/flaked coconut
2/3 cup chocolate chips (I use Ghirardelli 60% Cacao Bittersweet Chocolate Baking Chips and it makes ALL the difference)

Preheat oven to 175 degrees celcius. Line a baking sheet with foil (other people say parchment paper, I don’t have any).

In a bowl mix the dry ingredients (oats, cocoa powder, salt and cinnamon).

In another bowl mix and then whisk the wet/binding ingredients (coconut oil, maple syrup, light brown sugar, vanilla extract).

Pour the wet ingredients over the dry ingredients and stir to combine. I usually use a spoon and then my hands.

Pour the mixture onto the baking sheet. Spread it out evenly.

Bake for 10 minutes, then remove from the oven and flip and add the coconut. Bake for another 10 minutes. It should smell like it’s done. I know these instructions are subjective.

Remove from the oven and when still hot pour chocolate chips over. Carefully mix with a spoon so that the chocolate chips melt a bit.

Wait until its completely cool before storing in a container. Should keep fresh for a week.

*I owe my granola making prowess entirely to Shutterbean and base my granola recipe on her Nutty Cranberry Granola. However I did adjust baking times and I find that you really just have to watch the granola and figure out what temperature and time works for your oven.