Old-fashioned banana bread

 
Recently I’ve been thinking about the food I make, for myself and others. 

When it comes to my everyday food, it’s all imported spinach and beets and peppers and lemons. When I go to parties I make these blondies with, again, imported chocolate chips and people love them.

Then when I’m at work or even at home with my family in Malaysia- no one can relate to the food I cook. I come across as the brat who eats weird, expensive shit. And my baking – well let’s just say they find it heavy and not suited to their palate.

So I started thinking – maybe I’m the one who’s out of touch and maybe I could try cooking with some ingredients that can be sourced locally. I might even save some money.

Banana cake is made everywhere but the recipes on the internet all called for butter. I started to think – for the Asian palate and for this Asian weather. Vegetable oil might be the better decision.

Guess what? It was amazing and exactly like what I remember eating as a kid. Except better. The batter comes together in 10 minutes and the baking time is 45-55 minutes. Definitely make it with those extra mouldy bananas you’ve got lying around :p

2 cups flour
1 tsp baking soda
1/2 tsp salt
1/2 – 1 tsp cinnamon
1/2 cup oil
3/4 cup castor/ fine granulated white sugar
2 eggs
1 tsp vanilla
1/4 cup milk
4 medium sized bananas, mashed

Preheat the oven to 175C/350F.

Butter a loaf pan, then line it with parchment/ wax paper, butter it again.

In a bowl, whisk the flour, baking powder, salt and cinnamon together. This is my lazy version of sifting.

In a separate bowl, cream the oil and sugar. Add the eggs and beat together. Add the milk and vanilla and stir -then finally add the mashed bananas.

Slowly add the flour mixture to the wet mixture (honestly – there’s no better way to say this) and mix till well combined.

Pour into the prepared cake tin and bake for 45-55 minutes or till a knife comes out clean when inserted in the middle of the batter/tin. 

Your Asians relatives/ colleagues are gon be allllll over this.

Cooking with… PZ – Saatenbrot

I have been sitting on these brunch with PZ pictures for what… months now? And I don’t know why, I think part of it might have to do with what can you say when you have a friend who comes to your house with a freshly baked loaf of super seedy bread and then helps you prepare brunch except #blessed?

But more seriously, I take my brunch very seriously.

Just this past weekend as I was stumbling out the door on Saturday morning for a waffles and ice-cream brunch, Mel, my apartment mate was all:

Mel: Do you brunch every weekend?
Me: *pause* Yes?
Mel: That’s cool.
Me: *in my head* That’s expensive.

Which is why, when the Singapore Martha Stewart (I need a shortform of this nickname) volunteered to bake bread to anchor Sunday brunch at my place, I + my flatmates + one (one of their boyfriends, that is) were enthusiastic about a) being cheap and b) eating some high quality stuff.

Here is PZ actually arranging the smoked salmon in a pleasing way, so as to enhance the taste.

We, the barbarians that we are, were happy to eat it off the foil it came on. But you know, this was cool too.

PZ aims to not buy bread in the shops anymore and instead wants to shift to only consuming the bread that she makes. I’m not sure why she wants to do this. Could it be because the bread we buy from the shops is full of weird additives that are giving us cancer? Possibly. Could it be because the bread she bakes is ludicrously tasty? More probably.

I prepared a creme fraiche lemon dill dip which you see here and eggs en cocotte. And of course we had lots of coffee and fresh blueberries. These pictures solely exist to torment you.

And remind me of a lazy Sunday that I want to get back to.

Oh! PZ kindly shared the recipe for the bread that she made (adapted from here):

Makes 1 loaf

Soaker
48g whole wheat flour
28g dark rye flour
100g water
1g of salt
64g flaxseed

Starter
7g rye mother starter (100% hydration)
71g dark rye flour
71g water

Final
43g dark rye flour
48g bread flour
62g water
2g instant yeast
4g salt
64g toasted sesame seeds
1 egg white (for the egg wash)
14g of mixed sesame seeds and flaxseeds, for the topping

Prep the soaker and starter a day before you bake the bread.

Day 1
In the morning, stir the soaker ingredients, cover and let it sit at room temperature till evening. Repeat with the starter ingredients in a separate bowl.

In the evening, mix the soaker and starter together with the final dough’s ingredients.

Knead for 1 to 2 minutes. Knead more vigorously for 4 minutes, and let it rest for 5 minutes.

Knead 1 more minute, and the dough should be somewhat sticky.

Place it in an oiled bowl, cover with cling wrap and keep it in the fridge overnight.

Day 2
Take out the dough and let it sit at room temperature for 2 hours.

Stretch and fold the dough to shape it, and place the dough seam-side down.

Brush the exterior with egg white and roll the dough in the mixed seeds for topping.

Transfer the dough into the loaf pan and spray some olive oil on it. Cover and let it proof for 45 to 60 minutes, till it’s 150% in size.

Meanwhile, preheat the oven to 240C.

Place a ramekin of water on the bottom of the oven and position the rack in the middle.

When the dough is ready after proofing, bake at 240C for 10 minutes, then 220C for another 10 minutes, and 180C for the last 10 minutes. Let the bread cool completely before slicing.

*Not pictured: An impromptu blueberry crisp we made out of leftover blueberries which we served with vanilla Haagen-Dazs ice-cream. The pictures were too ugly to share and I didn’t really want to mess with the beauty above.

Just eat the goddamn pudding

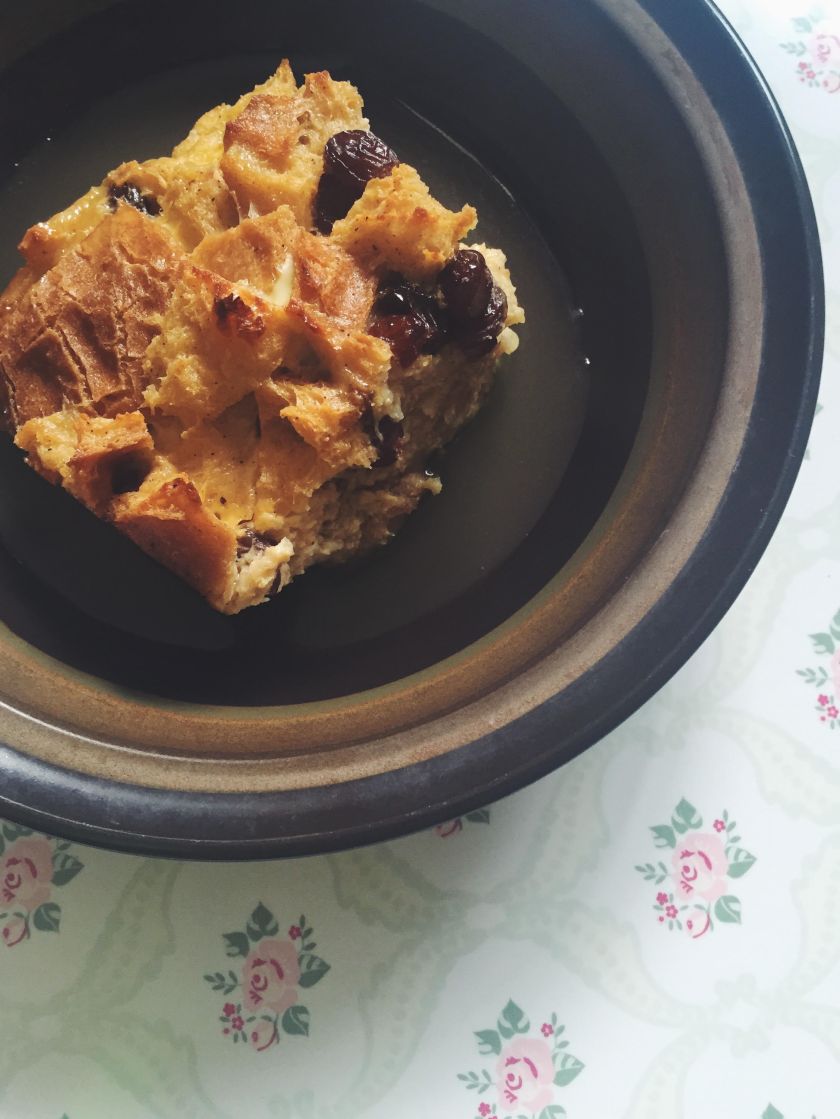
Bread pudding!
Bread pudding!
I have what you can call an interesting relationship with food.

As a kid I basically ate everything which meant I was a little soft around the edges.

This meant A LOT of teasing in primary school and as I grew older, I grew heavier. Finally, in high school there came a year where I ate very little and exercised very much.

That year changed my relationship with food – it became an enemy and something to fear. Weirdly enough I also started thinking about it a whole lot more – despite not consuming very much.

Fifteen years later I still have a very intense relationship with food but don’t think I will ever fall back into the pit of unhealthy deprivation. I eat specific things that I think are healthy and nutritious and give me a lot of energy. I also make sure I have an allotment of chocolate everyday for, you know, #health.

Still sometimes, when I want to make and eat a desert all these old feelings of trepidation rush back – is this is a good idea, will there be too much, do I really need these extra calories, but I CAN’T BE EATING CAKE FOR BREAKFAST FOR FIVE DAYS!!!!

This past weekend all these confusing feelings and thoughts flooded my brain after I decided I had to make bread pudding (I mean I had a leftover baguette, what’s a girl to do?). That was when I had a bit of a “check yourself, before you wreck yourself,” moment.

Eating a bit of bread pudding is not going to kill me. It might even make me happy (in that moment, I know food is not the solution to all things). And while I don’t advocate eating cake and bread pudding and generous mouthfuls of refined white sugar everyday, it’s important to let myself eat the things I want and love, sometimes.

It’s irritating, but also true, that moderation might be the only way to approach food and also life.

*The bread pudding I linked to is the recipe I used and it was GORGEOUS. Skip the sauce though – eat with maple syrup/honey instead!

Weekend Meal Prep YOUCANDO

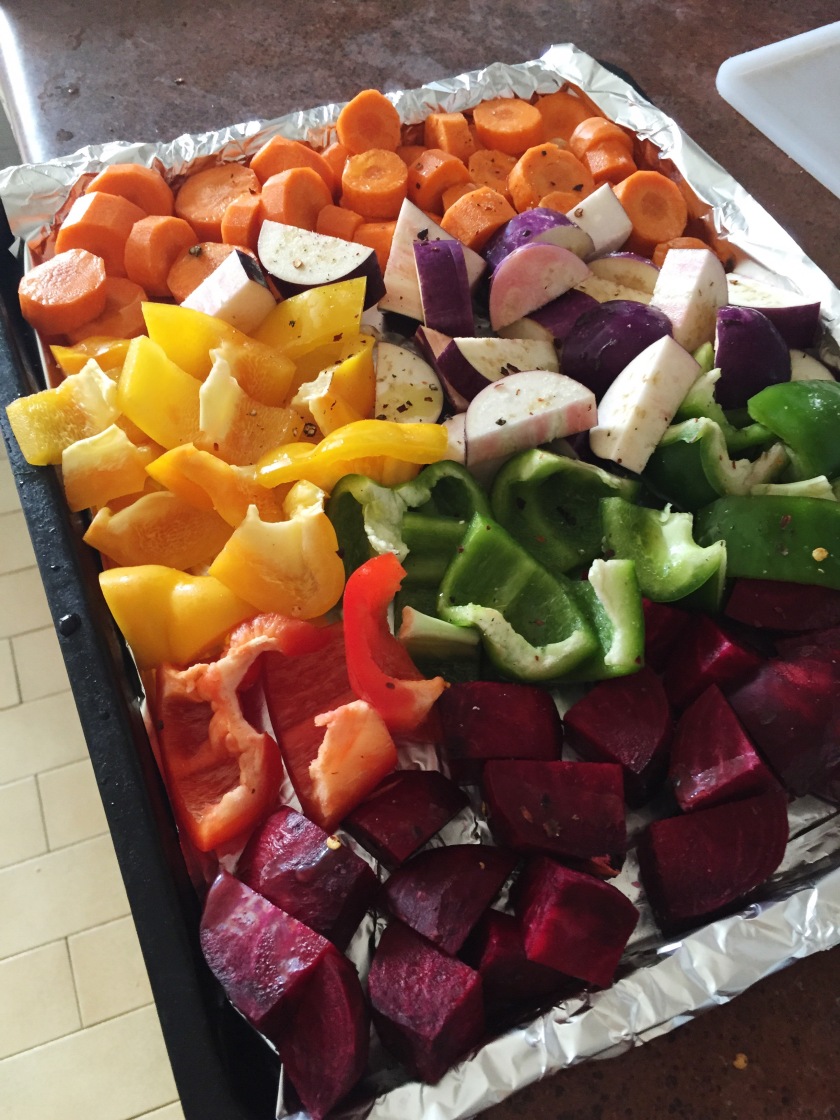
Prepping for prep
Prepping for prep

Every weekend I set aside about two to three hours, to plan how I’m going to take over the world.

No seriously, because the only way that I can take over the world is if I eat well-balanced, nutritious food that will then give me enough energy to take over the world. Right?

But more seriously this is my post about meal prepping on weekends. I got into meal prepping for two simple reasons 1) Shutterbean and 2) IHAVENOTIME.

Let me explain.

1) Shutterbean is this fantastic blog written by Tracy who cooks these wonderfully healthy and varied meals not just for her blog, but also for her family (her husband and son). And she achieves this by being organized and prepping the ingredients and pre-cooking certain items on the weekend. Check out her awe/jealousy-inspiring meal prep grams here, here and here.

2) IHAVENOTIME. I know, I have a choice in life, I can stop saying I’m so busy and sit down and smell the roses… but guess what? I don’t want to do that. I want to run and go to yoga and hang out with my friends and go to work and read and do my laundry and read a book and get 8 hours of sleep AND eat somewhat healthily. SO. That means being a little organized and getting some stuff prepped over the weekend.

I don’t prep like Tracy, since I don’t have a family, but what I do is that I have a simple rule. I try not to eat more than one meal out a day, so if I’m eating dinner out I’ll pack a lunch for work, if not I’ll eat the dinner for the week.

I hard-boil 5 eggs for breakfast and make either a muesli or granola every two weeks which I enjoy with greek yogurt. That is my breakfast all week – minus the one day I get my chocolate almond croissant from Tiong Bahru Bakery.

I prep a salad for the week by buying spinach leaves or romaine (they keep fresh for about three days), grill vegetables (usually a combo of carrots, beets, peppers, etc), grill chicken, make a salad dressing (loving this one right now) and cook 1/2 cup of dried quinoa (about 5 meals worth for me). That lasts me for about five meals and mid-week I usually re-do the whole process.

This takes me about 2 to 3 hours, with plenty of time in between to dance around my apartment or do more laundry.

Totally doable right? And I’m not advocating an oat and salad filled existence.

Make whatever the hell you want.

Mel, my apartment mate, preps awesome tofu-veggie pasta salads every weekend.

Another good friend puts together protein and fish and fruit every night for her BYOL.

Just think about eating and living intentionally. Because – it’s kind of awesome.

The TASTIEST Granola Bars

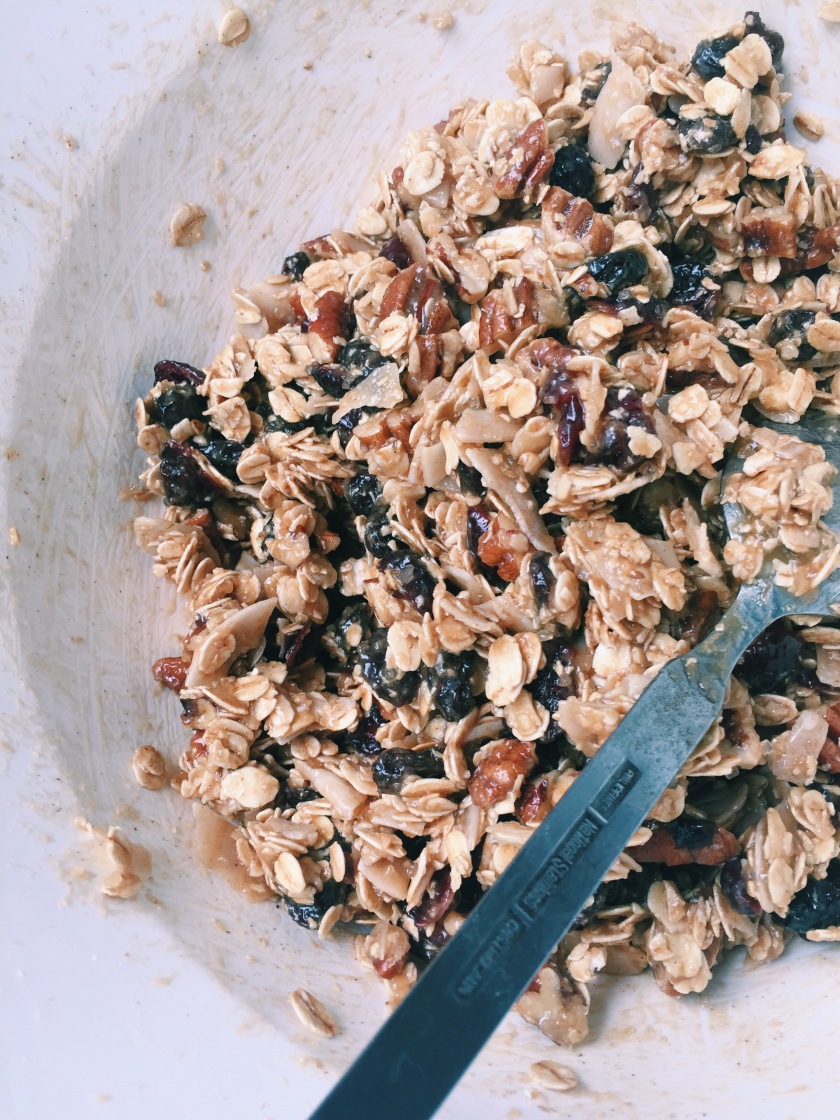
Starting out
Starting out
I really like fake healthy food. Like oatmeal cookies. Granola. Granola in the bar form. Oat bars. Fully loaded oatmeal. I think I’m seeing a trend.

I think I like these treats because they have nuts and oats and dried fruit and all these nutrients but really they’re just full of sugar – and taste like it.

So, when I was scheduled to go on a nature walk to see otters (I didn’t see them) at 7:00am in the morning, I knew one thing would make this exercise infinitely more tolerable.

Crazy tasty and filling granola bars that I could whip out of my tote bag (because I’m eco-friendly like that!) and munch as I surveyed nature. And stuff.

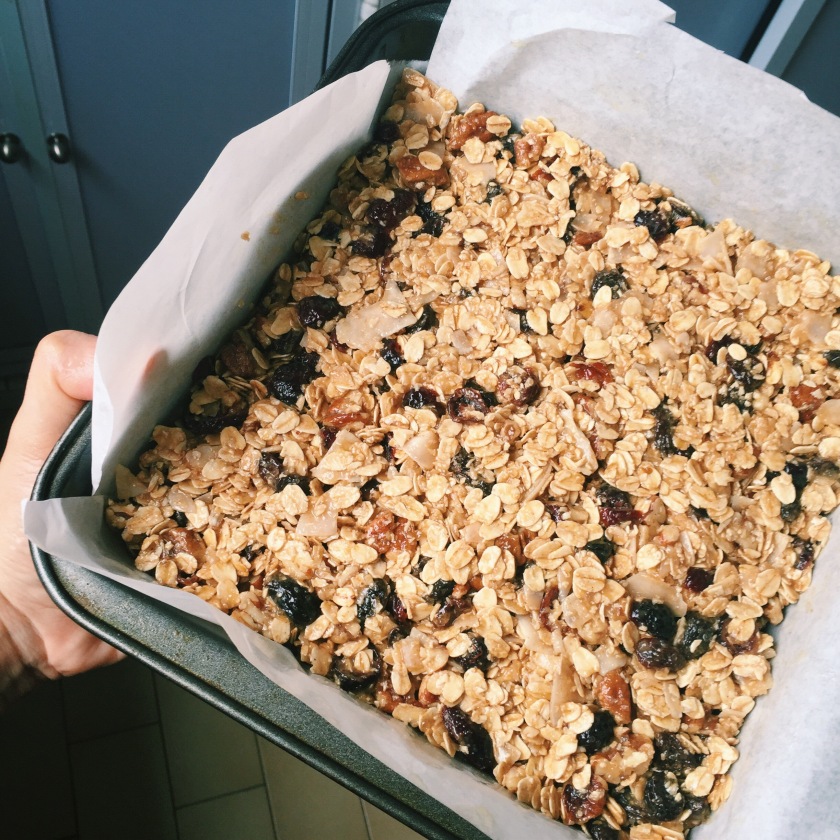
All packed in
All packed in
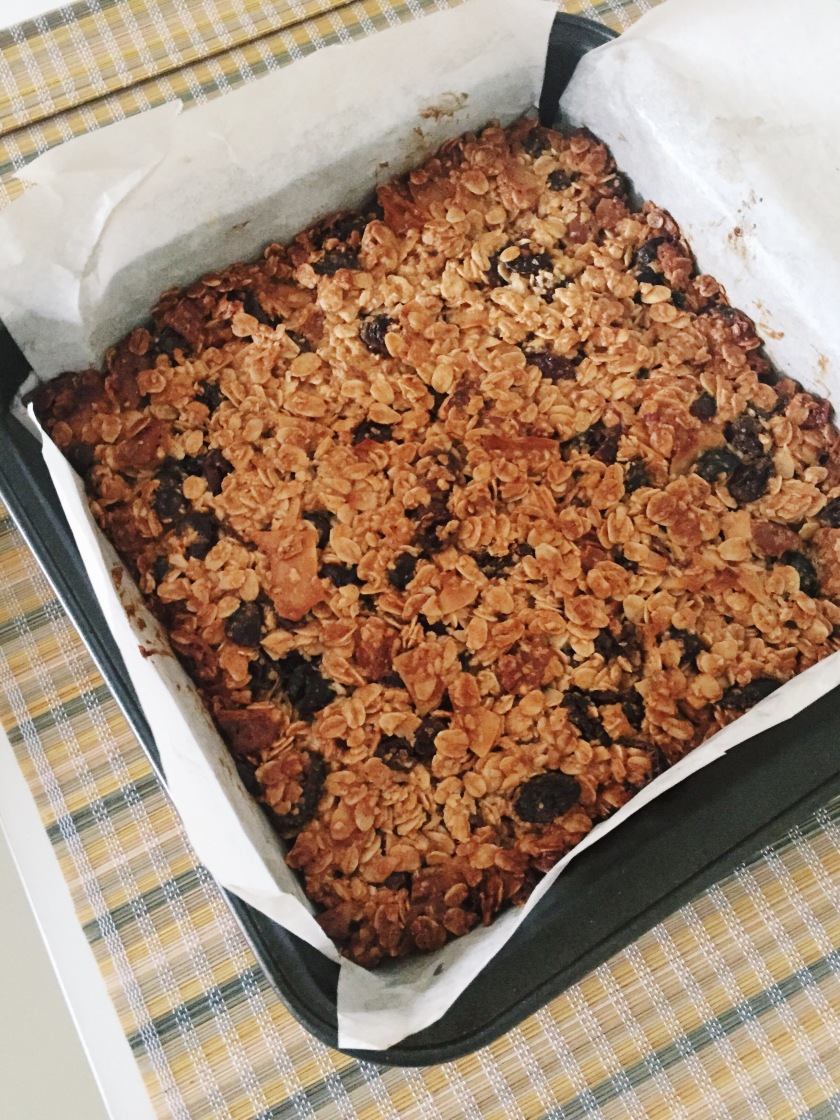
Browned to perfection

When it came time to cut these – they didn’t stick together. They just failed and crumbled.

I had to shove it into foil and mold it into a square shape for my nature walk.

I have to admit, I was skeptical about these babies but one bite and I was swooning. They’re just crazy delicious and the right amount of sweet and chewy. I’m salivating as I write this.

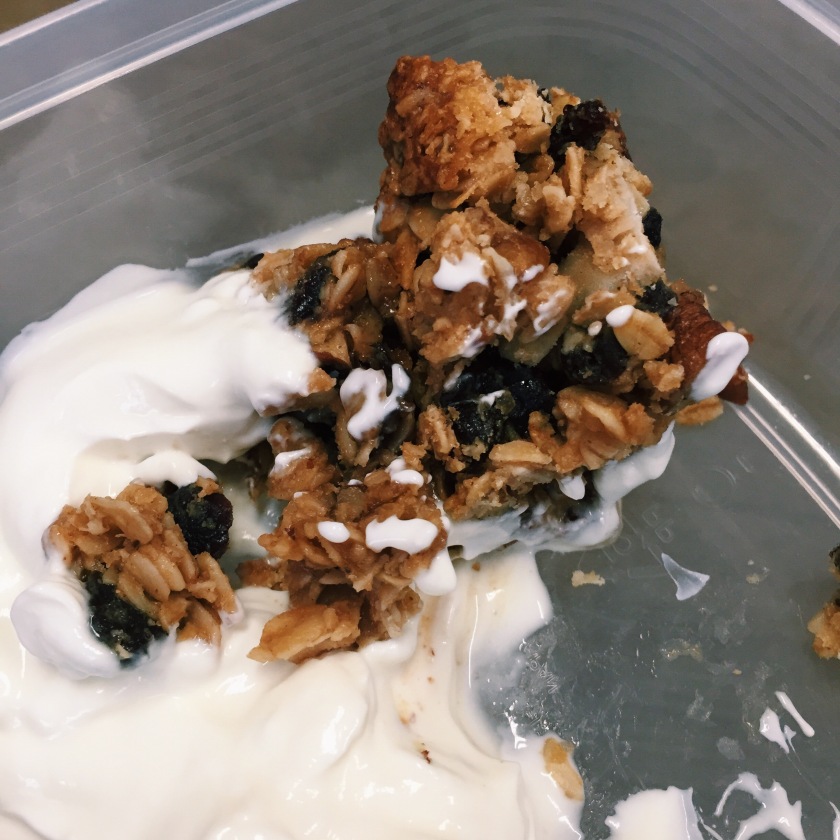
When I got home I found that everyone in my house was also totally into them. And the fact that they were basically only possible to eat with a spoon? Did not phase us one bit.

I urge you to make these, eat them with friends, eat them alone, eat them for tea, eat them for breakfast, eat them with greek yogurt… Just make them. And eat them. What else are you doing this weekend?

A crumbly situation...
A crumbly situation…

Deb’s recipe is very adaptable but this is my ingredient list – be sure to follow her instructions at the link below:

1 2/3 cups rolled oats
1/3 cup oats, processed till finely ground in a food processor or blender
1/4 cup white sugar
1/4 cup brown sugar
1/2 tsp salt
1/4 tsp ground cinnamon
3/4 cup raisins
3/4 cup dried cranberries
1/2 cup unsweetened coconut flakes
1 cup chopped pecans
1/4 cup peanut butter
1 tsp vanilla extract
6 Tbsps melted butter
1/4 cup maple syrup
1 Tbsp honey
1 Tbsp water

*Adapted from Smitten Kitchen.